
Scan to Your Mac With Built In Tools and Call NextGen IT in Australia


For fast, multipage jobs, open Image Capture, pick your scanner from the sidebar, and let the automatic document feeder do the work. For a single photo, document, or flatbed scan, use Preview (File > Import from Scanner) or import straight from your iPhone. Connect your scanner, check it’s listed under System Settings > Printers & Scanners, pick a save folder, and scan. Both apps come free with macOS.
TL;DR:
Most scanner connection issues on a Mac are fixable with quick checks of cables, power, and driver updates from the manufacturer.
For high-volume scanning, Image Capture can combine multiple pages into a single PDF with duplex support, outperforming Preview for multi-page jobs.
Use Preview or iPhone for quick, single-page scans, ensuring you set the correct file format and destination before scanning.
Selecting the right scan settings—black and white at 150–200 DPI for documents, color at 300 DPI for photos—ensures usable files without rescanning.
Professional support can help resolve persistent hardware and connectivity problems that cannot be fixed through troubleshooting alone.
Table of Contents
How do I add a scanner to my Mac?
Before any app can see your scanner, macOS needs to see it first. This is the step most people skip, and it’s the reason “scan documents Mac” searches spike every time someone buys a new device or updates their operating system.
Here’s the setup sequence:
Plug in the scanner (USB, USB‑C, or connect it to your Wi‑Fi network) and switch it on.
Open the Apple menu, then go to System Settings > Printers & Scanners.
If the scanner isn’t listed, click Add Printer, Scanner or Fax and wait for macOS to search the network or USB connection.
Select the scanner from the list, then click Open Scanner.
If nothing appears after a minute, check the manufacturer’s website for a driver, since some older or third-party scanners need one installed before macOS will list them.
Network scanners usually show up automatically through AirPrint or standard printing protocols, so most people never touch a driver at all. Older USB scanners are a different story if your Mac only has USB‑C ports, because the port may not deliver enough power to run the scanner reliably. A powered multiport adapter usually solves that, since it gives the scanner its own power source instead of relying on the Mac.
Pro Tip: If your scanner is a network model, restart both the scanner and your router before trying “Add Printer, Scanner or Fax” again. Half of all discovery failures clear up after a simple reboot on both ends.
How do you use Image Capture for feeder and batch scans?
Image Capture is the app built for volume. If you’ve got a stack of receipts, contracts, or a 20-page report sitting in an automatic document feeder (ADF), this is the tool that turns them into one clean file instead of twenty separate ones.
Open Image Capture (search Spotlight or check your Applications folder).
Select your scanner in the left sidebar, and wait for it to detect the ADF.
Set the Scan To location, either a folder on your desktop or one you’ve created for scanned paperwork.
Choose the file type. PDF is the standard for documents; JPEG works better for photos.
Turn on duplex scanning if your feeder supports it and your pages are printed on both sides.
Click Scan. Image Capture will combine every page from the feeder into a single file at the destination you picked.
This is where Image Capture beats Preview outright: Preview handles one page at a time, but Image Capture can pull an entire feeder’s worth of paper into one file without you touching the mouse between pages. If you’re scanning invoices, tax paperwork, or anything longer than two pages, start here.
How do I scan in Preview or import from an iPhone?
Preview isn’t just for viewing PDFs. It’s macOS’s quickest route for a single flatbed scan, and it doubles as a scanner for people who don’t own a physical device at all.
Open Preview, go to File > Import from Scanner, and select your device from the list.
Adjust the scan size to match your paper (A4, letter, or a custom crop) before scanning.
Set the colour mode: black and white for text, greyscale for faxes or old documents, colour for photos.
Pick a resolution. 150 to 200 DPI is fine for text, but photos and anything you might enlarge need 300 DPI or higher.
Save the result as a PDF for documents or JPEG/PNG for images, and choose your destination folder before confirming.
No scanner on hand? Preview also supports File > Import from iPhone or iPad > Scan Documents, which uses your phone’s camera and Apple’s document-detection to capture a clean, cropped scan straight into Preview. It’s genuinely useful for a one-off scan of a form or receipt when your scanner is in a different room or not worth switching on.
What scan settings and file formats should you use?
Getting the settings right the first time saves you from rescanning later, and it’s the difference between a document that’s actually usable and one you’ll never open again.
Text documents: black and white mode, 150–200 DPI, saved as PDF.
Photos or artwork: colour mode, 300 DPI or higher, saved as JPEG or PNG.
Forms you’ll need to search or edit later: scan at a higher resolution and run OCR (optical character recognition) afterwards, since macOS’s built-in tools don’t convert scanned text into searchable text on their own.
Quick fact: according to Energy Star’s scanner buying guide, duplex scanning, feeder capacity, and OCR or software integration are the three features that matter most when a scanner is doing regular work rather than the occasional one-off job.
If you need searchable PDFs (the kind where you can highlight and copy text), you’ll usually need a third-party OCR tool or an app that bakes it in, since Preview and Image Capture scan images, not searchable text. Run OCR before you file anything away permanently. Retrofitting hundreds of PDFs later is a miserable job.
Why isn’t my scanner working, and how do you fix it?
Most scanning problems on a Mac come down to five repeat offenders, and nearly all of them are fixable in under five minutes.
Scanner not appearing in System Settings: check the cable connection, confirm it’s powered on, then reopen Printers & Scanners and try Add Printer, Scanner or Fax again.
No “Open Scanner” button showing up: skip System Settings and open Image Capture or Preview directly, then select the scanner from within the app instead.
Blurry or streaky scans: clean the glass and the feeder rollers, since dust and smudges are the most common cause of quality complaints.
Scanner recognised but keeps disconnecting: this is almost always a USB‑C power issue. A basic passthrough adapter often isn’t enough, so switch to a multiport adapter with its own power input.
Scan disappears after you close the window: you skipped the save prompt. Always check your Scan To destination before hitting scan, not after.
Pro Tip: If your Mac scanner not working issue started right after a macOS update, check the manufacturer’s site for a driver update before anything else. Firmware and driver mismatches after an OS update are one of the most common causes of scanners vanishing from the list overnight.
Sheetfed vs flatbed scanning: what actually works day to day
Most people don’t need to choose one scanner. They need to choose the right tool for the job in front of them, and the honest answer is that a single device rarely does both well.
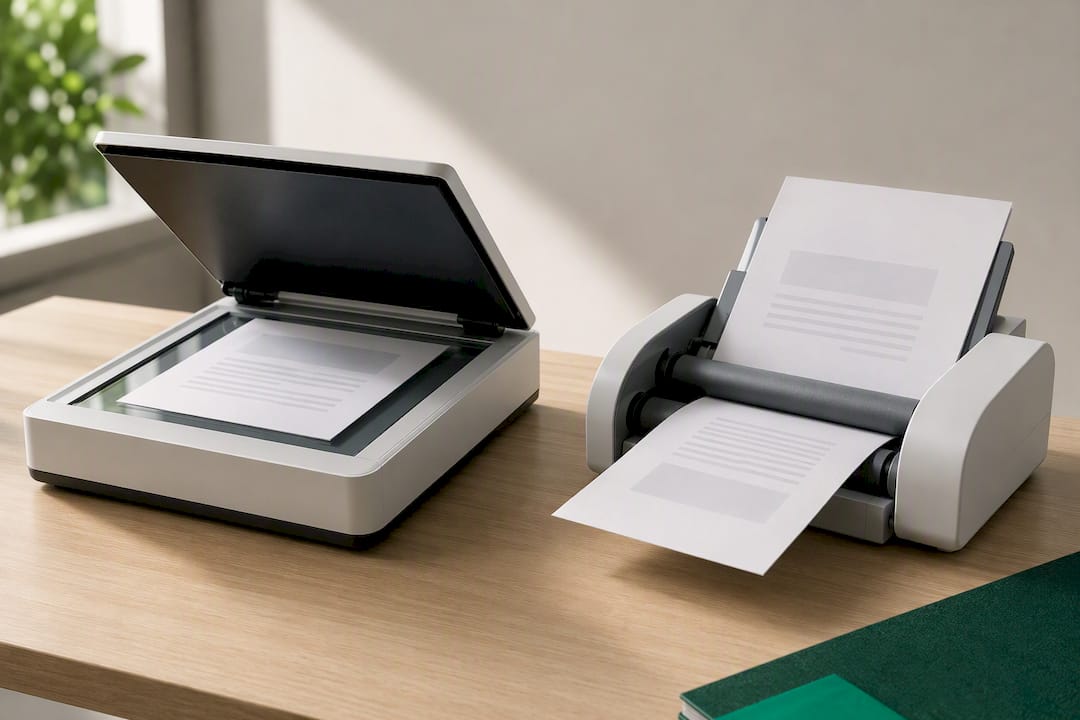
An automatic document feeder is built for volume: stacks of invoices, contracts, or school forms move through fast, one after another. A flatbed is the safer choice for anything fragile or irregular, like old photos, a passport, or a bound document you can’t feed through rollers without damaging it. If your household or small business regularly deals with both, running a sheetfed for paperwork and a flatbed for delicate items beats trying to force one machine to do everything.
Keep one consistent “Scan To” folder with a clear naming pattern, like the date followed by a short description, so nothing gets lost in a folder full of “Scan001.pdf” files. If the scanner won’t show up on the network at all, drivers keep failing after every update, or a USB‑C adapter still won’t hold a stable connection, that’s a sign the fix needs a technician’s eyes rather than another restart.
Get hands-on help setting up your scanner
Professional tech support services can help you avoid fumbling through driver downloads and adapter troubleshooting alone. If your scanner won’t show up in Printers & Scanners, your network printer refuses to connect, or a USB‑C adapter keeps dropping the connection, an on-site technician can usually sort it in one visit rather than another hour of forum searching.
Common jobs handled by technicians include getting a new scanner discovered on the network, fixing USB‑C power and adapter faults, and setting up wireless printer and scanner combos so every device in the house can use them. Visits often run on transparent, upfront pricing with a “No Fix, No Fee” guarantee, so you only pay when the problem’s actually solved. If you’re stuck on a scanner that won’t cooperate, check out Nextgenit’s Printers & Scanners Support and book a visit that gets it working properly, the first time.
FAQ
How do I scan to my Mac computer?
Connect your scanner, then open either Image Capture for feeder or batch jobs, or Preview for a single flatbed scan. Choose your save destination and file format before scanning, since both apps let you pick the folder in advance rather than after the fact.
Why is there no scan option on my Mac?
This usually means macOS hasn’t registered the scanner yet. Go to System Settings > Printers & Scanners, click Add Printer, Scanner or Fax, and select the device once it appears in the list.
How do I scan directly to my desktop?
In Image Capture or Preview, set the Scan To location to Desktop before you start the scan. If you miss this step, the file may only appear in a temporary preview window and won’t save anywhere until you choose a folder manually.
Why won’t my Mac recognise my scanner?
The most common causes are a loose cable, a scanner that isn’t listed under Printers & Scanners yet, or a USB‑C port that isn’t supplying enough power to an older USB scanner. Try a powered multiport adapter if the scanner keeps disconnecting, and if the problem persists, a technician visit through Nextgenit’s Printers & Scanners Support can usually resolve it in one call-out.
Do I need special software to scan on a Mac?
No. Image Capture and Preview come built into every Mac and cover most scanning needs without any extra installation. Third-party software only becomes necessary for advanced OCR or if your specific scanner model requires its own driver.
Recommended
Comments